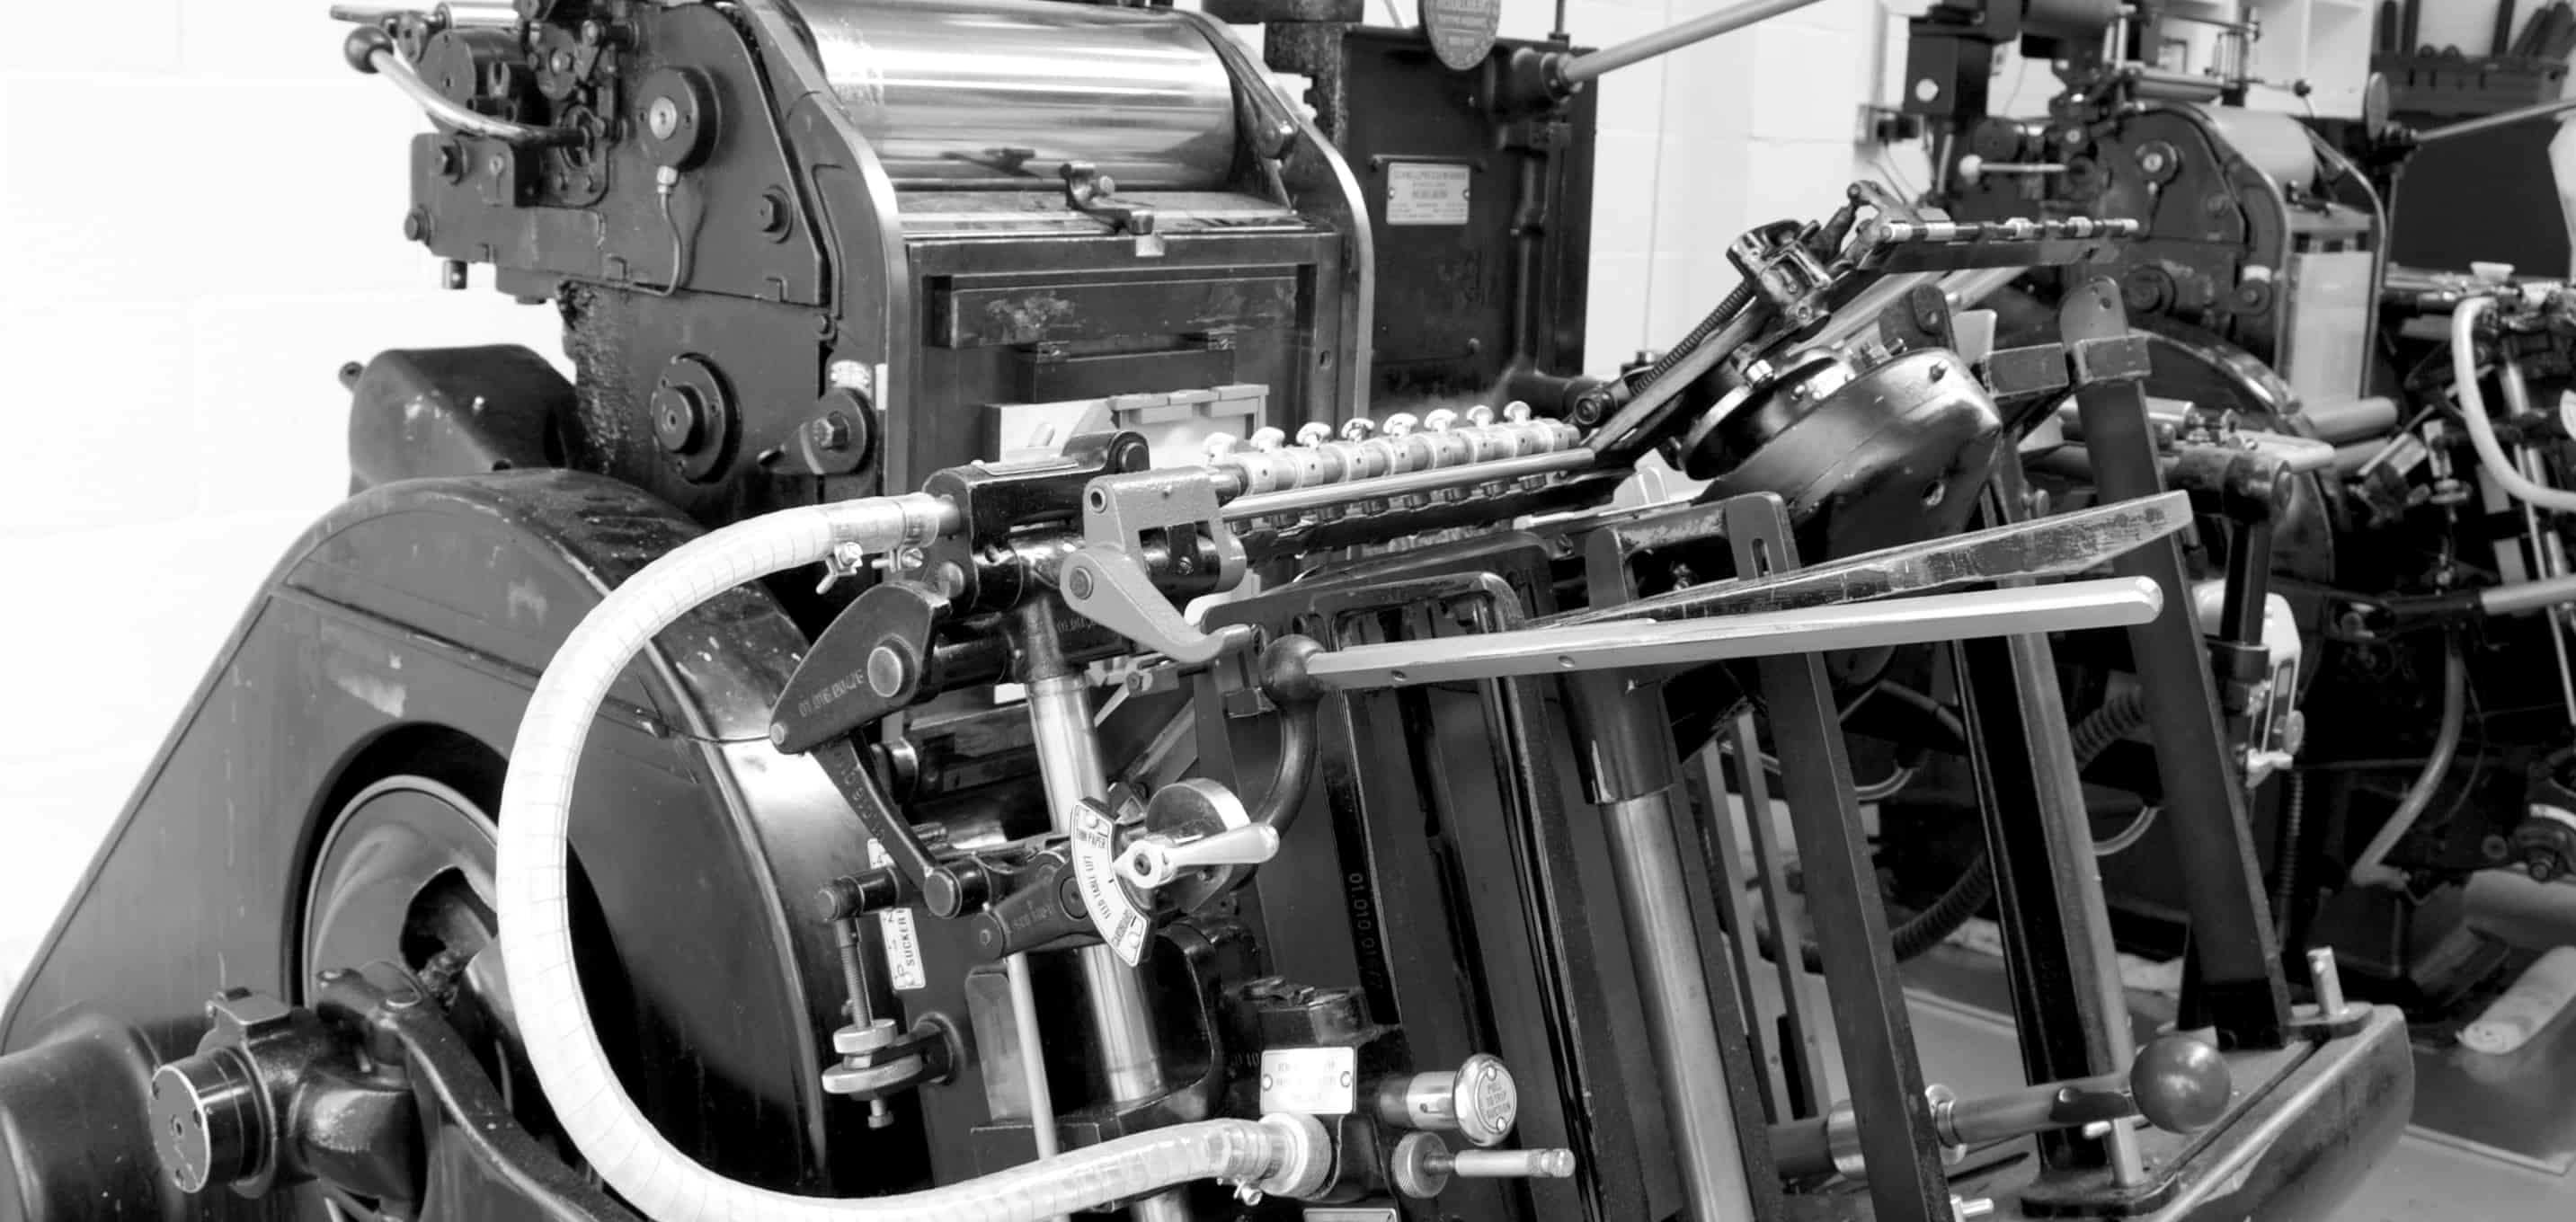
We adore the wonderful, tactile nature of this method of printing. When so much of the world around us is played out digitally, it feels pretty special to be part of something crafted with time, care and attention. The tactile finish we produce is a perfect example of quality and craftsmanship, which is often missing from many modern printing methods. We also love how the manual nature of this craft makes every single item a tiny bit different to the last.
If you like what you have read so far, but want to become a letterpress know-it all then read on. Here’s a little more detailed information about what happens when you approve your artwork;
1. PRE-PRESS
You’ve double-checked the artwork for errors and are good to go. Hurrah! Now we get to work on printing your film. Film you say, what’s that about? Well, in order to produce your plates, we need to create a negative image of your design, which will be exposed to a UV light. This process has to happen for each colour and item you order.
2. PLATE MAKING
The film is popped on top of a polymer plate, and is then exposed to a UV light. The plate is then washed in a lovely bristly bath. The areas that were black on the film get washed away from the plate, leaving the raised design behind. The plate is then placed in a drying chamber, and finally post-exposed to the UV light to harden. (This stage of the process is pretty much like a plate spa day; a dip in the pool, some exfoliation, and going home with a tan!)
3. ACCURACY REQUIRED
The plate gets mounted and aligned (with submillimetre precision) onto a metal base which is then locked-up in a chase and cleaned, ready for the press.
4. PRESS PAMPERING
Now it’s time for a bit of pampering, and the presses day is kicked off with some precision oiling to ensure they run smoothly like, well, a well-oiled machine!
5. GETTING INKY
Time to get dirty and mix the ink for your job, (using the world’s tiniest scales), before inking up the press. This isn’t something to be rushed – too much ink and the plate will be over inked and the colour too dark, not enough and it will be too light. The amount of ink on the press gets topped up and regularly checked throughout the print run. Rollers run over the platen to distribute the ink evenly.
6. PAPER FEEDING AND PRINT CHECKING
Now we need to get the paper feeding perfectly, which means adjusting the suction for the paper feed, and the air blast of the press. Once each sheet is separating nicely (no double feeding here), we are ready to run the first proof. This will be checked for colour, impression and any flaws in the plate. (Tiny specs of dust can mean spots or marks appear).
7. PRINT AWAY
The inking level and impression need to be adjusted for each item we print, with a little packing added where necessary to even up colour and impression. Once we have nailed this, and we are happy with the test proofs, we are good to go ahead and print the complete run of that particular plate. The quality of the print and colour are checked throughout the print run. Once your order has been printed, it needs to be set aside for a day or two to cure.
8. INK WASH-OFF
Time to wash the ink off the press. This starts out with Andrew scraping any excess ink away, before setting the press running again. This time, instead of rollers doing the work, a wash-up blade is engaged while an environmentally friendly citrus cleaner is carefully sprayed onto the rollers. This is another lengthy process, which needs to be completed carefully, to ensure our press is always at its best.
9. TO THE GUILLOTINE…
Once the order is dry, we can finally get everything cut down to perfect size. Crop marks are used to ensure perfect alignment. This is another job that requires a whole lot of attention – one slip and the whole order needs to be reprinted! After this, your order is finally complete, and we then have the task of lovingly wrapping each element of your order to ensure it reaches you in perfect condition!